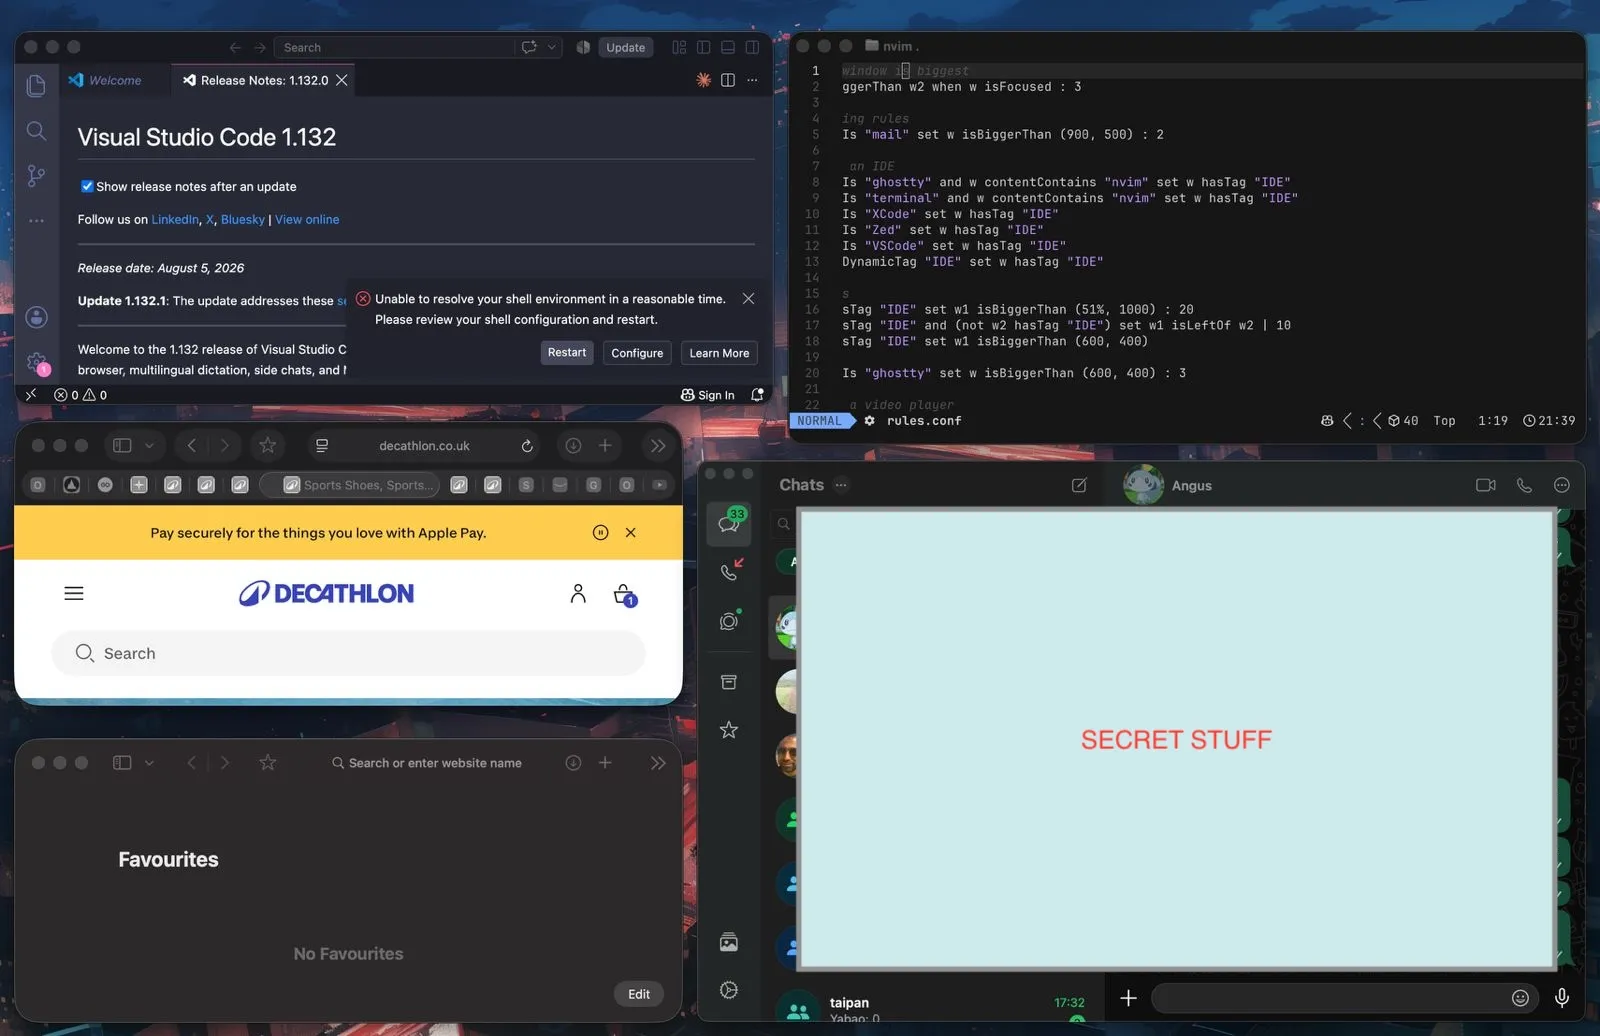
Before getting a Macbook Air for uni, I was a Linux user and the feature I miss the most is window tiling. Linux has a plethora of window managers, such as Hyprland, Cosmic DE, and PaperWM, so you can look cooler than all of your Windows-using friends. On the contrary, MacOS kinda sucks when it comes to window tiling - even the default snapping behaviour doesn’t work half the time! While there are attempts to recreate the Linux tiling experience for MacOS, I find these are a little clunky for my liking. Not only that, but they require memorization of loads of key bindings and have a separate implementation of workspaces.
During one of our ‘Logic and Proof’ lectures at Cambridge, we learned how to build SMT solvers that solve a system of linear inequalities (that can be combined with logic). Most tiling window managers use a tree to implement tiling, splitting a section of the screen into smaller sub-sections. I was curious whether an SMT solver could be used to calculate an optimal non-overlapping configuration of windows. Although it may be slower than using a tree, we can add extra constraints to the solver to configure preferences for how windows get tiled. I figured that if tiling window managers on MacOS are already clunky, it may be worth creating a (slightly slower) window-tiling utility that declutters windows to your liking using only one command.
This turned out to be a pretty fun project for the Summer, and a nice way to learn Swift!
I mostly coded core features in the short break after exams ended and before my internship at BlackRock. I had less free time during my internship, but was able to add some additional features and fix bugs. For example, I used the monitors at the office to work on supporting multiple displays. Although we vibe-coded frequently at work, I coded most of this myself so I could learn Swift and tackle the problems on my own.
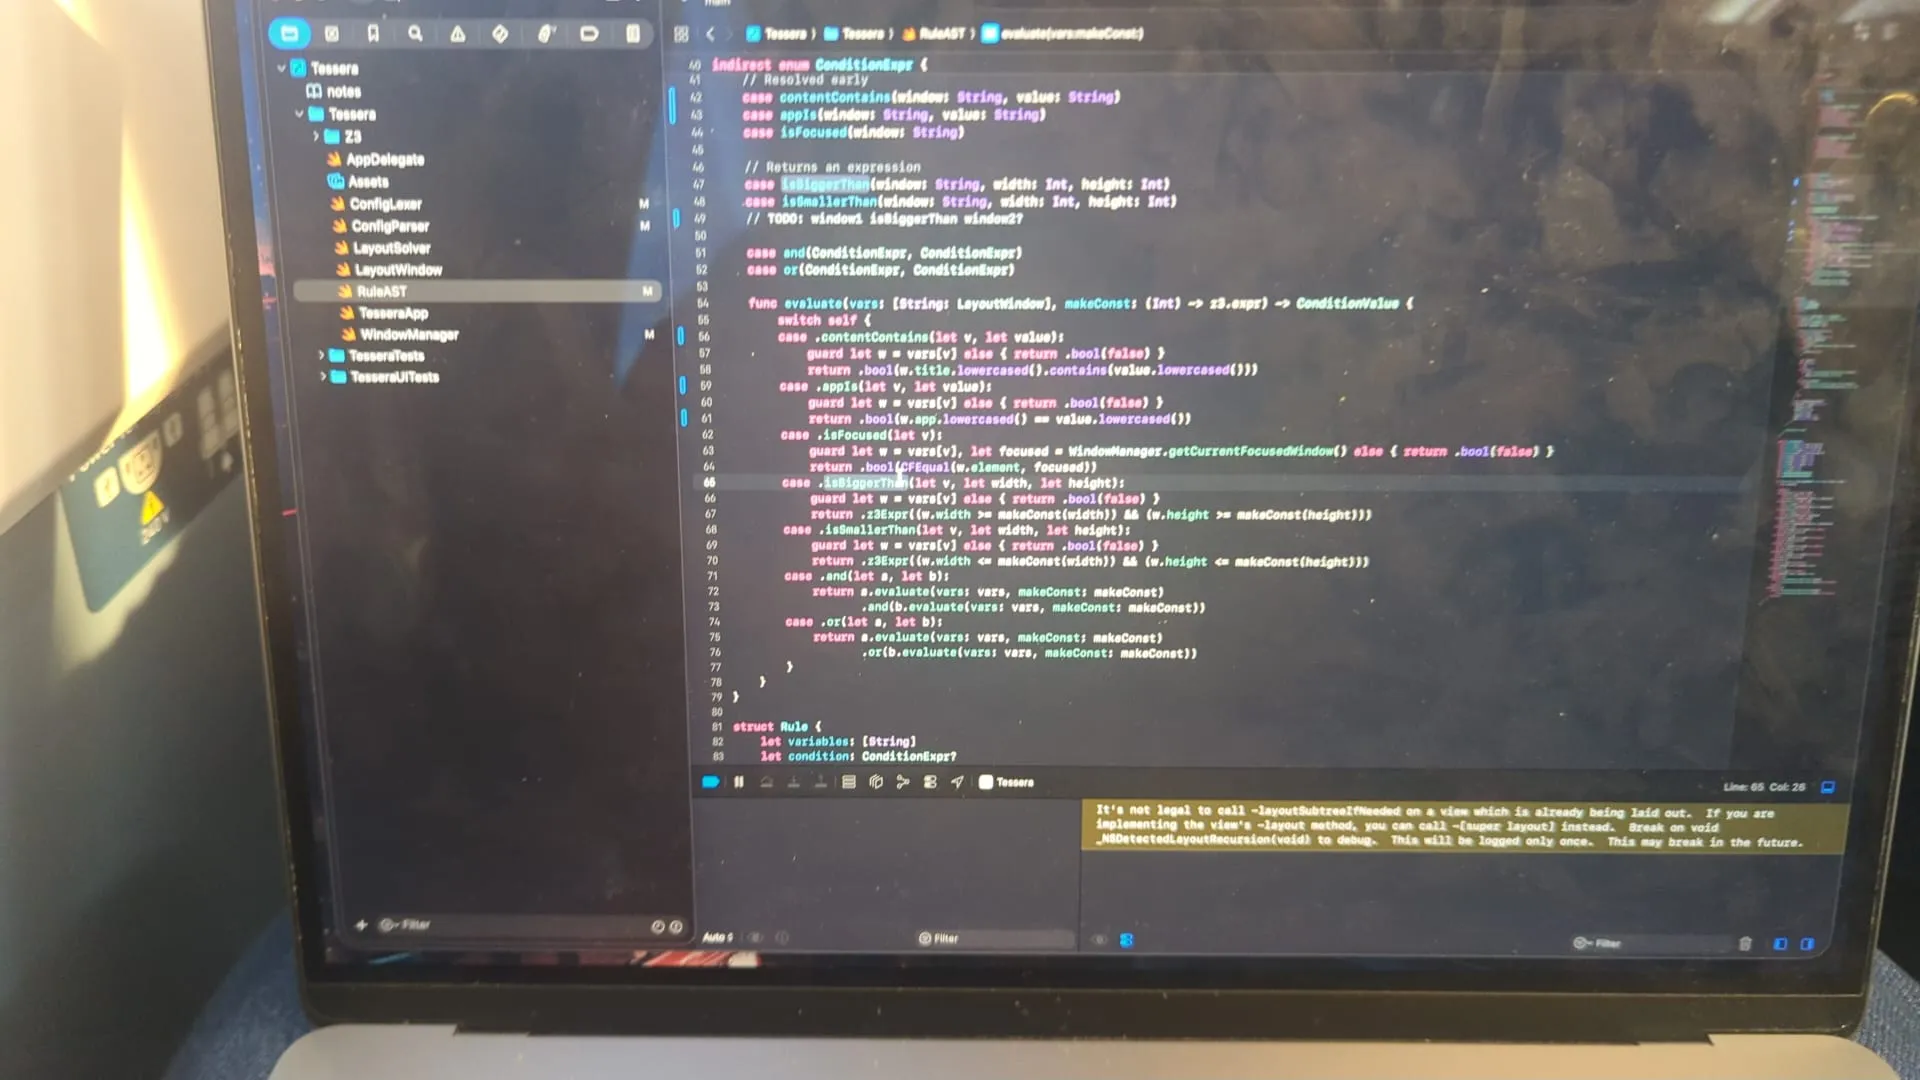
Me vs MacOS
The first hurdle I faced when making a window tiling tool was dealing with windows. I needed to find all the windows on a screen, retrieve information about them, and move them on command. MacOS thankfully provides an accessibility API that helped out with this, despite using a lot of untyped reference casts. After finding all the running applications and their windows, I could use the accessibility API to query information such as window position and title. As well as this, I could set the position of windows and resize them (although some extra hassle was needed for Electron apps).
Finding the minimum and maximum sizes of windows was harder. Apps like WhatsApp or Settings have non-standard minimum and maximum sizes; this has to be modelled in the logic, otherwise the solver will assume the window can shrink or expand more than it actually can. Unfortunately, I could not find any APIs for this (after all, the accessibility API is not made for window tiling apps), so I needed to get a bit more hacky. When brainstorming with my friend, we realized that we could discover the minimum size of a window by first setting its size to 0 and then querying the size to see how small we can make it. The process for finding the maximum size was similar, except that we first needed to move the window to the top left corner of the screen before setting its size to the screen size.
Later on in the development process, I wanted to make my app to work with multi-monitor displays (only tiling the screen that the user is on). To implement this, I needed to find out which screen the focused window is currently on and use a different API to find the size and position of the screen. Confusingly, this API used a different coordinate system to the accessibility one. Therefore, I needed to define some simple conversion functions to switch between both coordinate systems, then filter out only the windows that were within the screen the user is on.
Calculating the Layout (Without it Taking Forever)
To calculate the best layout, I needed to use an SMT solver. Instead of making one from scratch, I decided to use an existing solver called Z3 because it supported many features, allowing me to experiment. Z3 is mainly supported in C++, so I had to configure Swift’s C++ interoperability feature in Xcode. Although this went mostly smoothly, I eventually ran into memory management issues which were easy to fix but hard to catch. Swift’s ARC treats C++ objects as value types by default, so it freed the solver’s memory before we retrieved optimal parameters. This sort of interop problem reminded me of some past paper questions from our C and C++ course.
solver = Solver() // Swift object (reference counted) wrapping over Z3 solver
windowSize = Z3Expression(...) // C++ object (treated as value) for parameter
solver.addConstraint(windowSize) // Add constraints to the solver
solver.solve() // Solves constraints and optimizes [SOLVER GETS FREED HERE - NO MORE REFERENCES]
tileWindows(windowSize) // CRASH! C++ object (parameter) referred to the solver's (C++) context, which was freedThe core constraints added ensure: windows are fully on the screen, within their minimum-maximum size range, and don’t overlap. The last of these pays the biggest toll in performance because of 2 key reasons: it scales quadratically as we create constraints for each pair of (different) windows, and the rules use disjunction which means the solver must do some exponential time case splitting.
However, maximising the area of windows was the biggest bottleneck (taking about 2s). Naively, I initially tried using a quadratic term to optimise over (the total area of windows); I quickly discovered the strategy that Z3 offered scaled horribly as I opened more windows. The best solution was to make it linear. But how? The first step was to maximise the total perimeter of windows (technically half of this) instead of area, but also to add a penalizing term for weird aspect ratios. Under a fixed aspect ratio, maximising perimeter is the same as maximising area, so this approximation achieved similar results. It was also important to ensure that the area is fairly distributed - if there are 2 windows, we do not want one to take up 90% of the space, and the other to take 10%. So, I added a factor that minimises the ‘spread’ of window sizes.
Making it User Friendly and Configurable
The next step was to add configurable rules and a UI so that users can add their own constraints.
After some thinking, a discussion with my interaction design professor, and participation in a PUX design experiment, I settled on using text-based configuration due to shareability and flexibility. Instead of using a standard configuration language like TOML or JSON, I made my own. A custom DSL can have more readable syntax, better error messages, and (most importantly) is more fun to make!
My favourite way of writing a front-end for a programming language is monadic parser combinators, such as Megaparsec in Haskell. But for simplicity, I decided to handwrite a recursive descent parser, as I didn’t want to deal with big libraries, and an LR parser generator one would be overkill. I made a simple lexer, and a simple parser (with error messages). Because I am making the language, I can control the syntax to make it efficient to parse (through lookahead tokens). This involves a “when clause” where users can specify the conditions for a rule, and a “set clause” where they specify the constraints. These then get converted to an AST, often using Z3 expressions, which get translated into constraints when given windows to match variables. Claude Code was super useful here as some parts were very repetitive (e.g. isBiggerThan and isSmallerThan behave similarly).
I had a lot of fun designing the core language, and adding various additional features to my app. Most of these (e.g. tagging and weights) integrated very smoothly into the constraint solver I was already using.
# Defining a video player
when w appIs "Safari" and w contentContains "netflix" set w hasTag "Video"
when w appIs "Safari" and w contentContains "youtube" set w hasTag "Video"
when w hasDynamicTag "Video" set w hasTag "Video"

# Video Rules
when w hasTag "Video" and w isFocused set w isBiggerThan (60%, 80%) and w isLeftOf w2 | 30
when w hasTag "Video" set w isBiggerThan (40%, 40%) : 8
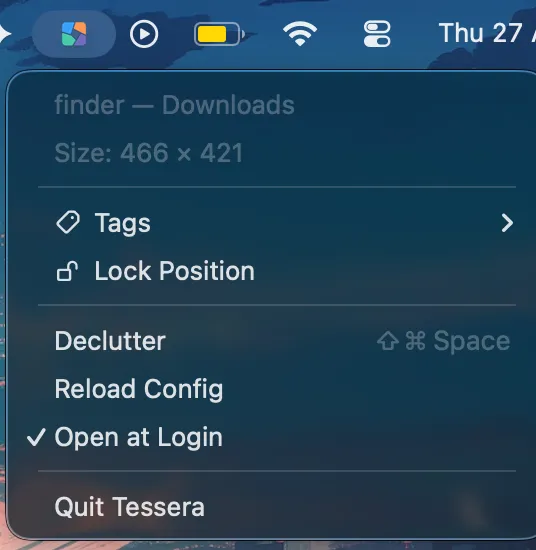
when w hasTag "Video" and w isSmallerThan (800, 500) set w isLandscapeMy UI itself remained very minimalist, living on the MacOS toolbar. It features a drop down menu upon pressing the icon, with some buttons such as locking a window in place, reloading the config, and of course, decluttering windows. As well as the button, I added a keyboard shortcut for the tiling functionality because it is (by far) the most important action. Because of the latency of the solver, I replaced the icon I designed with the Cupertino loading animation whilst the layout was calculated and set.
Conclusion
Overall, this was a really fun project to work on - especially because I enjoy working with maths, logic, and systems. I use my app to declutter my windows regularly, and some of my friends are also trying it. If I come back to the project, I might try to get it to compute the layout a little faster, perhaps using caching. This is because the delay, despite being only 2s, feels infinitely slower than the instant tiling window managers in Linux - perhaps there’s a reason we use tree-based algorithms for tiling! :)